
HOMEMADE BREAD WITH BUTTERMILK
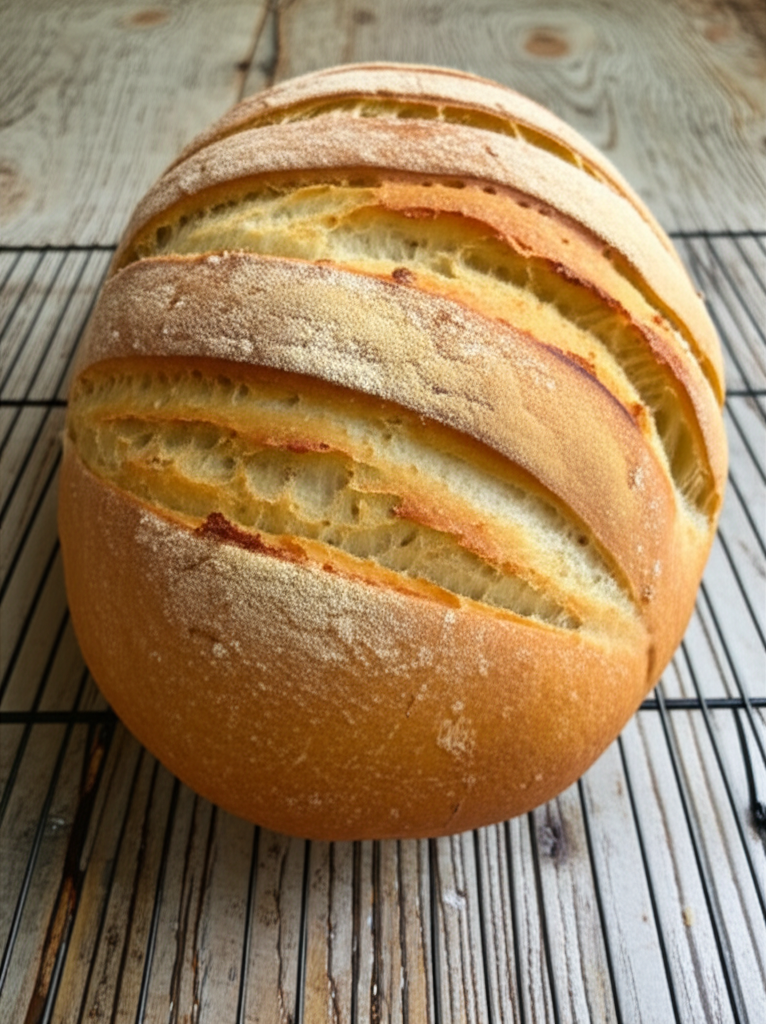
You can make homemade buttermilk bread with just six ingredients! This buttermilk bread recipe makes a soft loaf with a great taste that you can easily make in your bread machine. This quick bread recipe is very easy to follow. It only needs a few ingredients that you probably already have in your kitchen and pantry.Buttermilk bread is so soft and tastes great. Try it today and see how great it is!
This simple recipe will show you how to make fresh homemade buttermilk bread in your own kitchen. You can even make this buttermilk bread in your bread machine. It makes a soft loaf with a great taste.
Course and Nutrition Information
Course: Breakfast, Snack, and Bread
Food: American
Word: Buttermilk Bread, Homemade Buttermilk Bread
Two hours to be ready
Time to cook: 25 minutes
Total Time: 2 hours and 25 minutes
Servings: 12 slices (one loaf)
Calories: 177 kcal
Ingredients
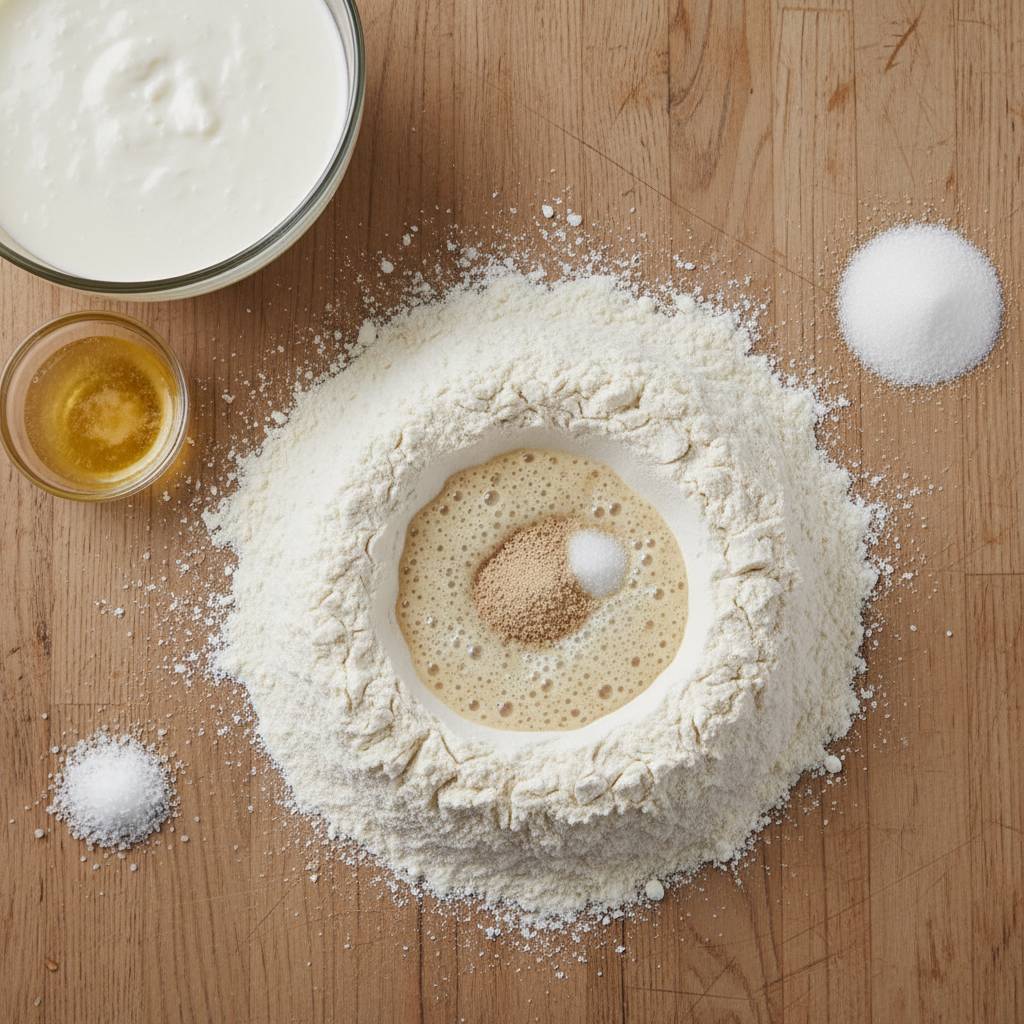
- 1 ½ cups of buttermilk
- 2 tablespoons of melted butter
- 2 teaspoons of sugar
- 1 teaspoon of salt
- 3 1/2 cups of all-purpose or bread flour
- 1 tablespoon of yeast
How to do it
- To make the dough, put the buttermilk, melted butter, and sugar in a big mixing basin.
- Then, mix the flour, salt, and yeast together in a another basin.Mix the dry ingredients together with a whisk, then add them to the buttermilk mixture in the mixing bowl. I use a KitchenAid Mixer to mix all the ingredients together until they are properly blended. I want the dough to stick to the very bottom in a quarter-sized spot.
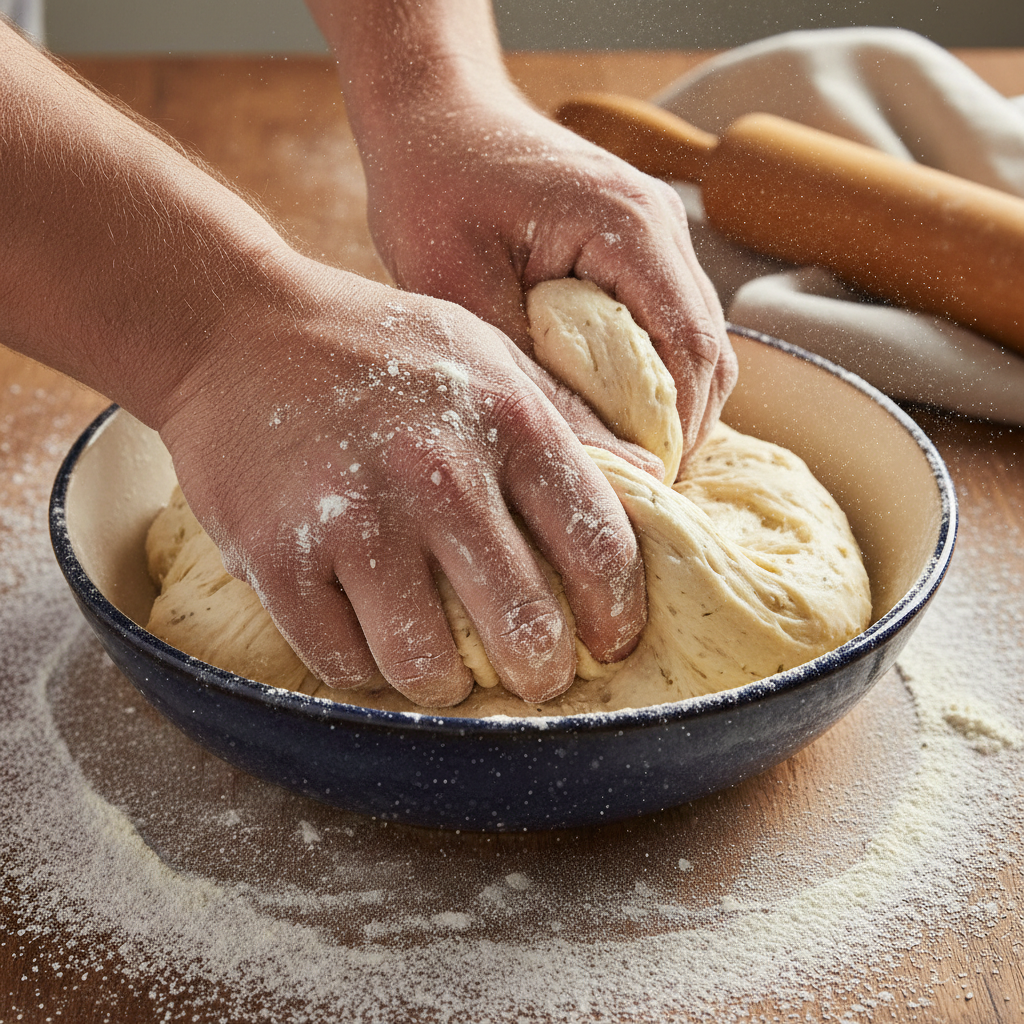
- Add another splash of buttermilk if your dough looks a little dry. Once the dough is the right consistency, mix it on low for 6 to 7 minutes, or knead it by hand for 10 minutes. To make beautiful textured homemade bread, you need to knead it the right way.
- First rise: After kneading the dough, cover the bowl with a towel and put it in a warm area for about an hour, or until the dough has doubled in size.
- Second rising: After the first rise, punch the dough down and knead it a few times. Then shape it (I like to roll mine and tuck the ends under) and put it in a greased bread loaf pan. Put the dough back in the warm place and let it rise for 30 to 45 minutes.
- Get the oven ready by heating it to 350 degrees F. After the second rise is done, bake the dough for 30 to 35 minutes, or until the top is golden brown.
- After baking, let the bread cool in the pan for 10 to 15 minutes. Then, flip the pan over and put the loaf on a cooling rack or a folded towel to finish cooling. When you’re ready to eat, cut it up, serve it, and enjoy!
Using a Bread Machine
Is it possible to make this Homemade Buttermilk Bread with a bread machine?
YES! Making this Buttermilk Bread in my bread machine has worked out great for me. You don’t need to adjust any of the ingredients either; just add them to your bread machine pan in the sequence shown below. I chose the “Basic White Bread” setting with a light crust, and it turned out great.
How to make the BEST bread every time
If you’ve never made bread at home before, these techniques will help you make the best, softest bread ever.
- Don’t forget to knead all the way. The recipe below says to knead for 10 minutes, and every minute is worth it. Don’t skip kneading time because it helps the bread’s flavor and texture.
- The weather might change your ingredients. If you live in a wet area, you probably need at least the required amount of flour, and maybe even 1/4 cup to 1/2 cup extra. After the first rise, bread dough should be sticky but still easy to work with. The dough should come together and pull away from the sides of the basin while you are kneading it. This will leave the bowl mostly clean. (I try not to add too much flour because it makes the bread denser.) Some of the dough will adhere to your fingers when you pick it up. It will be easier to work with after the first rising!
- Is the kitchen too cold to rise? When it’s cold outside, I like to turn on the oven for 2–3 minutes, then turn it off and let the bowl of dough rise inside. The oven keeps the heat in for a long time, which is great for dough that has to rise.
- Don’t work the dough too much after the first rise. I normally knead and form my dough in about a minute, then I put it back in the pan to rest for the second rise. I like to let the pan rise in the oven for the second rise so I don’t have to move the dough that has already risen. I just turn on the oven and set the timer to bake.
Notes
*You can use ordinary milk and lemon juice instead of buttermilk, but the bread won’t have the same texture and flavor. Add buttermilk to your shopping list; you’ll love it!
How to Keep Bread from Sinking
Using a cooking thermometer to examine the inside of the loaf is the easiest and best technique to keep bread from sinking. A thermometer will show that fully cooked bread is 200°F. The Thermapen is my favorite thermometer of all time. It’s really fast and very strong. The ThermoPop is another wonderful cooking thermometer. It’s a simpler version that works just as well.
Best Pan for Bread?
I bake a lot of bread, and I like to use ceramic, glass, or cast iron pans. These pans will bake bread more uniformly and make it easier to get the bread out once it has baked. I don’t like to use dark or nonstick pans because the bread doesn’t cook evenly. The surface gets darker before the inside is done cooking, so the color is not even.
How Can You Know When Bread is Fully Cooked?
A food thermometer is what I like to use. It’s easy to utilize because mine is digital. The temperature of fully cooked bread will be between 190 and 200 degrees F. I don’t take this bread out of the oven until it hits 200 degrees F because it has a lot of milk in it. The top will be a golden brown color.
Nutritional Profile
177 calories, 31 grams of carbohydrates, 5 grams of protein, 3 grams of fat, 2 grams of saturated fat, 0.3 grams of polyunsaturated fat, 1 gram of monounsaturated fat, 0.1 grams of trans fat, 8 milligrams of cholesterol, 241 milligrams of sodium, 83 milligrams of potassium, 1 gram of fiber, 4 grams of sugar, 108 IU of vitamin A, 0.001 milligrams of vitamin C, 41 milligrams of calcium, and 2 milligrams of iron
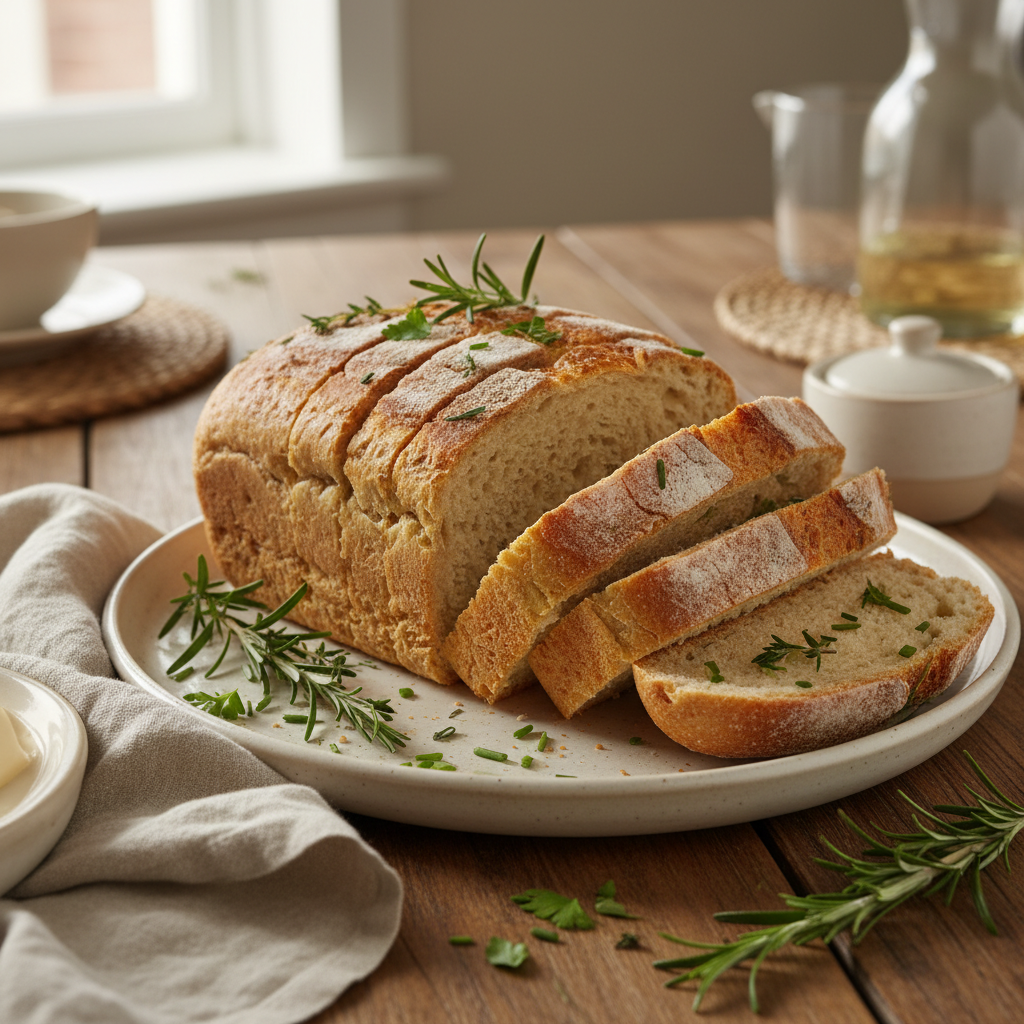
You can now simply create fresh Buttermilk Bread at home! This recipe for buttermilk bread makes a beautiful, soft loaf that tastes great and can be produced in your bread machine.
You can make homemade buttermilk bread with just six ingredients! You can even make this buttermilk bread in your bread machine. It makes a soft loaf with a great taste.