
Chocolate Mousse Brownies Recipe
I thought of a chocolate mousse brownie and ran straight to my kitchen.
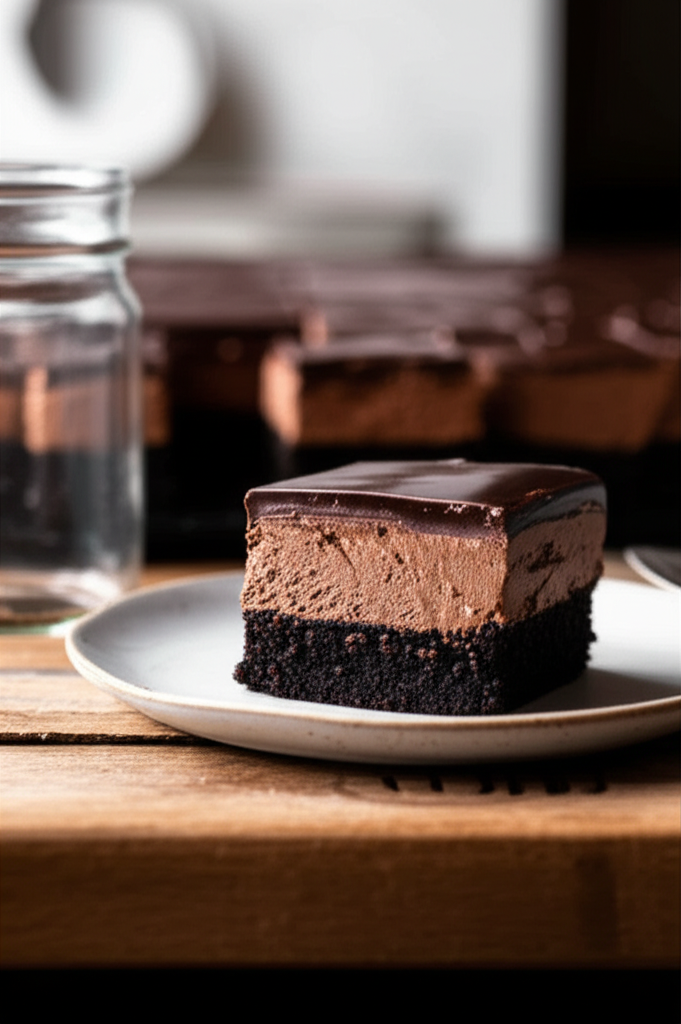
The first time I tried, the mousse had lumps and the crust wouldn’t bake evenly, but my love of chocolate kept me going. These brownies have three different layers today: a fudgy foundation, an airy center, and a shiny top. Every layer fits together, so every bite is a treat.
Ingredients for the Base of the Brownie
- 1/2 cup (115g) melted unsalted butter
- 1 cup (200g) of sugar in granulated form
- Two big eggs
- 1 tsp of vanilla extract
- 40 grams (1/3 cup) of cocoa powder without sugar
- 1/2 cup (65g) of all-purpose flour
- 1/4 tsp salt
- 1/4 teaspoon of baking powder
To make the chocolate mousse:
- 1 1/2 cups (350ml) of heavy whipping cream that is cold
- 8 ounces (225 grams) of semisweet chocolate, cut into little pieces
- 3 tbsp (45ml) of milk
- 2 tablespoons (25 grams) of powdered sugar
For the Ganache Topping:
- 4 oz (115g) semisweet chocolate, chopped up very small
- 1/2 cup (120 ml) of heavy cream
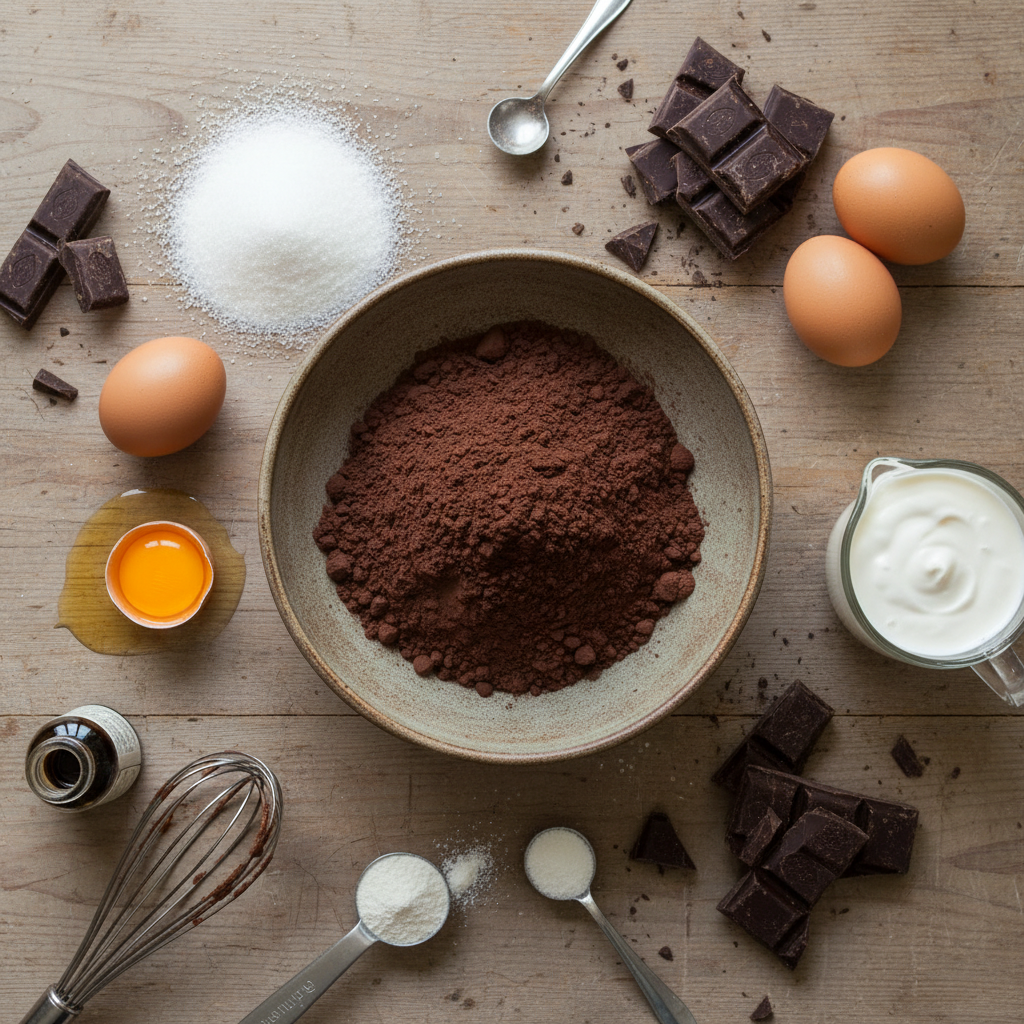
Before I collect ingredients, I always check my pantry twice. The deep flavor that stays on the tongue comes from rich cocoa and fresh butter. Adding a little salt to the granulated sugar makes the sweetness less strong. A spoonful of vanilla extract also makes the smell nice.
My mom used to say that the key to every brownie recipe is fresh baking powder and careful measuring. My own experience with trial and error backs it up.
A little mistake in the amount of flour or cocoa can make the texture go from wet to dry. I feel better knowing that I have the correct proportions of cocoa powder, flour, and sugar on hand.
Making the Brownie Base
- Set your oven to 350°F (175°C) and line an 8×8-inch (20×20 centimeter) baking sheet with parchment paper.
- Mix the melted butter, granulated sugar, eggs, and vanilla in a bowl until they are smooth.
- Add the cocoa powder, flour, salt, and baking powder by sifting them in. Mix the dry ingredients into the wet ingredients very gently until they are barely mixed. Don’t mix too much.
- Put the batter in the pan that has been prepared and use a spatula to smooth it out.
- Bake for 20 to 25 minutes, or until a toothpick inserted in the middle comes out with some wet crumbs. Let the brownie cool all the way down in the pan.
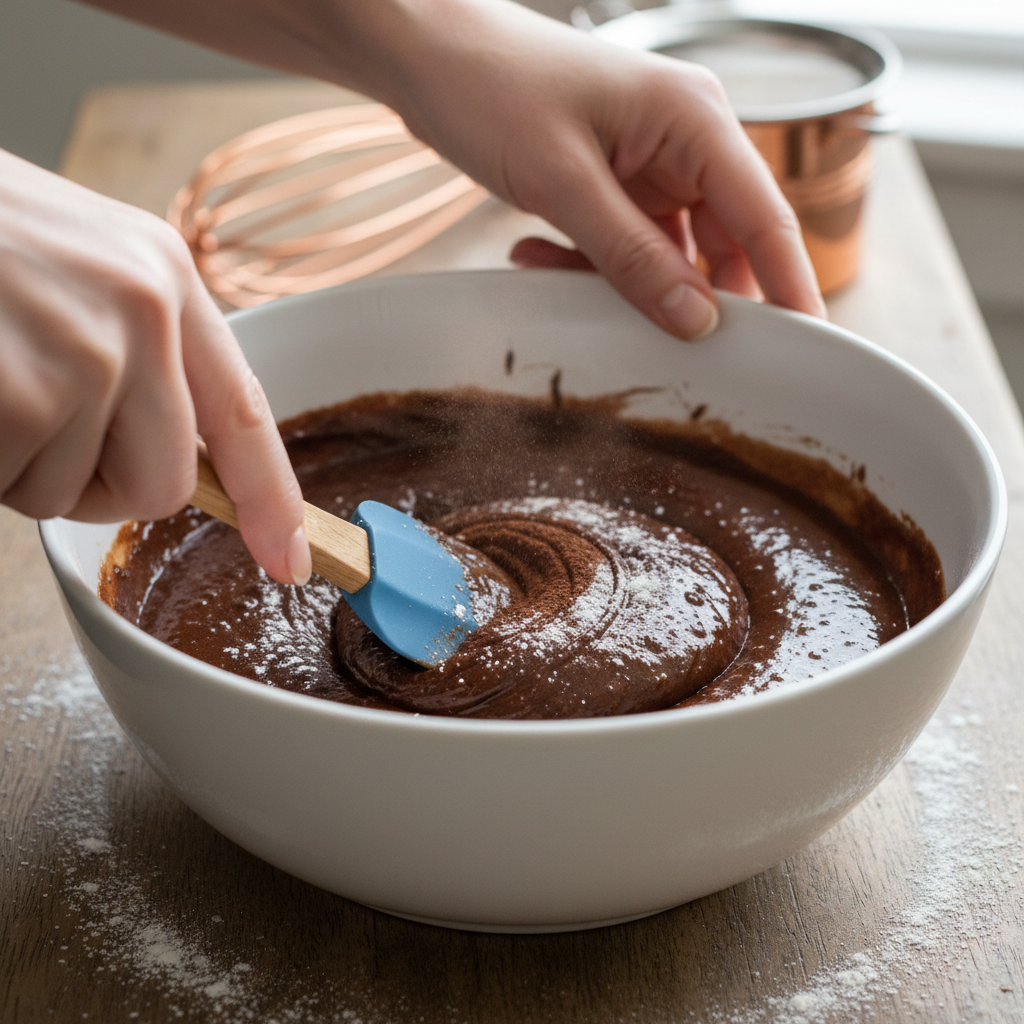
I start with a bowl where I mix together melted butter and sugar. Next, add the eggs and vanilla. A whisk makes the batter smooth. Next comes cocoa powder, flour, salt, and baking powder. This step never goes beyond a delicate fold because combining too much can make the brownie base thick.
A spatula helps mix everything up into a dark, tasty batter. The oven stays at 350°F (175°C), and my 8×8-inch baking pan is ready for a paper coating.
The batter pours in easily, and I use measured strokes to spread it into the corners. I usually bake for twenty minutes, but I keep an eye on the center. A toothpick with a few wet crumbs on it is a sign that you did well. I put the brownie layer in the pan on a wire rack to cool.
Preparing the Chocolate Mousse
- Put the milk in a small pot and heat it until it starts to steam but doesn’t boil. Put it in a heatproof basin over the chopped semisweet chocolate. Let it settle for two minutes, then stir until the chocolate is completely melted and smooth. Allow it to cool down to room temperature, which is when it is no longer heated but still liquid.
- Whip the heavy cream and powdered sugar together in a another bowl until soft peaks form.
- Gently add the cooled chocolate mixture to the whipped cream and mix until everything is well combined. Don’t let the mousse get flat.
- Evenly spread the mousse over the chilled brownie base. Put it in the fridge for at least two hours, or until the mousse is firm.
I cut semisweet chocolate into little pieces and put them in a basin that won’t get too hot. My tiny saucepan heats milk until it starts to steam. The heated milk runs over the chocolate that’s been cut up.
I count to three and then swirl until the fluid turns into a black, shiny pool. The smell often makes me think of weekends spent at my grandmother’s house, where a pot of chocolate simmering on the stove meant something special was coming.
I let this combination settle down to ambient temperature. In a another bowl, I beat heavy cream and powdered sugar together until soft peaks form. After that, I add the chocolate mix that has cooled down.
With soft scoops and turns, the chocolate mousse stays light and fluffy. I quit when there are no more streaks that I can see. The creamy mousse spreads out into a thick layer on top of the cooled brownie base. The pan sits in the fridge for a few hours.
Making the Ganache Topping
- Put the chopped chocolate in a basin that won’t break when it becomes hot. In a small saucepan, heat the heavy cream until it starts to simmer. Then, pour it over the chocolate. Wait 2–3 minutes, then whisk until the mixture is smooth and shiny.
- Pour the ganache over the mousse layer and use an offset spatula to spread it out evenly.
- Put it in the fridge for another hour, or until the ganache is hard.
I won’t rush through making ganache. I chop up extra semisweet chocolate, put it in a bowl that won’t break in the heat, and heat up heavy cream in a small pot. The cream and chocolate meet just before the cream starts to boil.
The heat will soften everything after a few minutes of rest. Then, with a spoon or spatula, you make a thick, smooth sauce. I like to drizzle this sauce on top of the chilled mousse layer.
Sometimes my daughter assists by trying to make designs with a spatula that is off-center. The idea is to cover everything evenly. The last step is to put the pan back in the fridge for an hour. Patience makes sure that the ganache creates a solid cap on the surface.
Serving and Enjoying
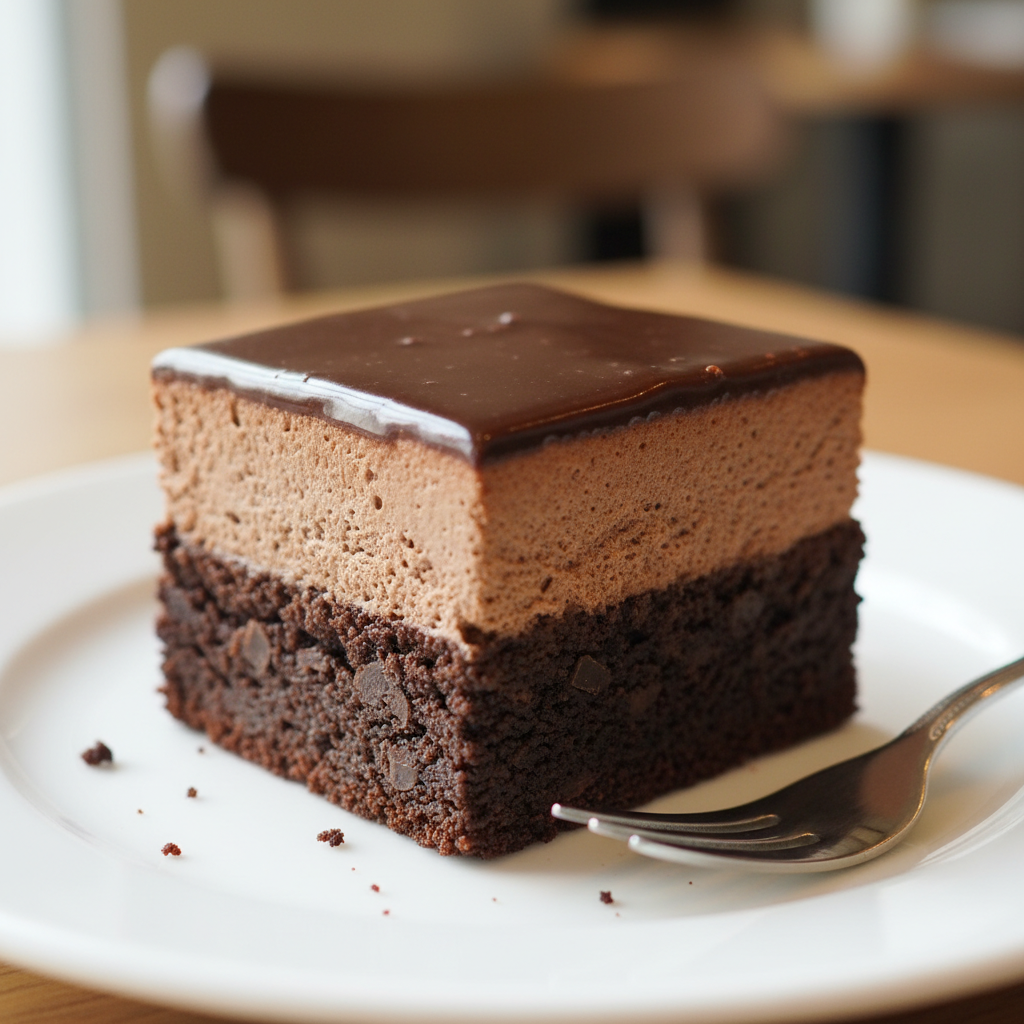
I normally cut these brownies with a warm knife to make the edges cleaner. Each bar has three different colors: dark brown, lighter chocolate, and a shiny top. My first taste always reminds me of what my best buddy said to me: “You can mix fudge-like brownies with light mousse.”
One piece can satisfy a strong chocolate hunger, but I have friends who always want more.
People who really like chocolate might drink coffee with this dish. A scoop of whipped cream or a few fresh berries might add a different flavor. Over the years, I’ve tried a few ways for plating, but nothing matches a plain square on a white plate.
For a change, I sometimes bake these brownies next to Classic Fudgy Brownies. My sweet tooth appears to like the different textures.
My kids have begged me to add gooey centers, so I always have a backup recipe for Chocolate Lava Cake ready to go. On birthdays, I make Chocolate Buttercream Frosted Cupcakes instead of heavier treats.
The cupcakes make the spread feel light and airy. I love chocolate, and each dessert is a different way to celebrate it.
I love to share a wonderful dessert find. I like to keep a record on Pinterest so I can always find the recipe again. A saved pin is particularly useful when friends ask for a chocolate treat on short notice.
That pin reminds me of how a good dessert can bring people together. When you share these brownies with family or neighbors, it makes each gathering even more fun.
A friend in another city told me that she pinned this recipe after I mentioned it once. She still thanks me every time she makes it.