
Mini Lunchbox Pizzas
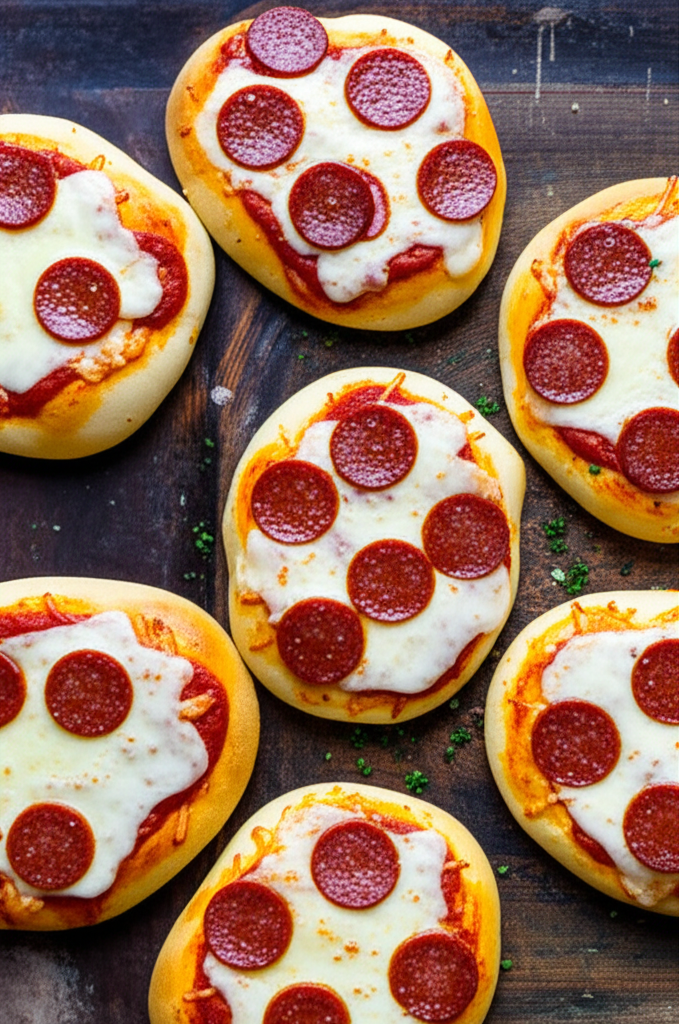
These small pizzas are easy to make, fluffy, and great for school lunches or quick snacks. They can be frozen and are ready in less than 25 minutes!
Busy parents will love these Mini Lunchbox Pizzas! And my kids are even happier when these treats show up in their lunchboxes! It’s not always easy to think of innovative ways to make sure your kids don’t become bored with the same old sandwiches or school lunches. We want them to eat their lunch and enjoy it, and we want them to know that it’s tasty and filling. Pizzas may seem like a bad decision, but if you make them from scratch and use fresh ingredients, you can feel good about giving your kids a nutritious option that they adore.
These tasty Mini Lunchbox Pizzas only take 25 minutes to create, including the two-ingredient dough. They are topped with gooey mozzarella and crunchy pepperoni.
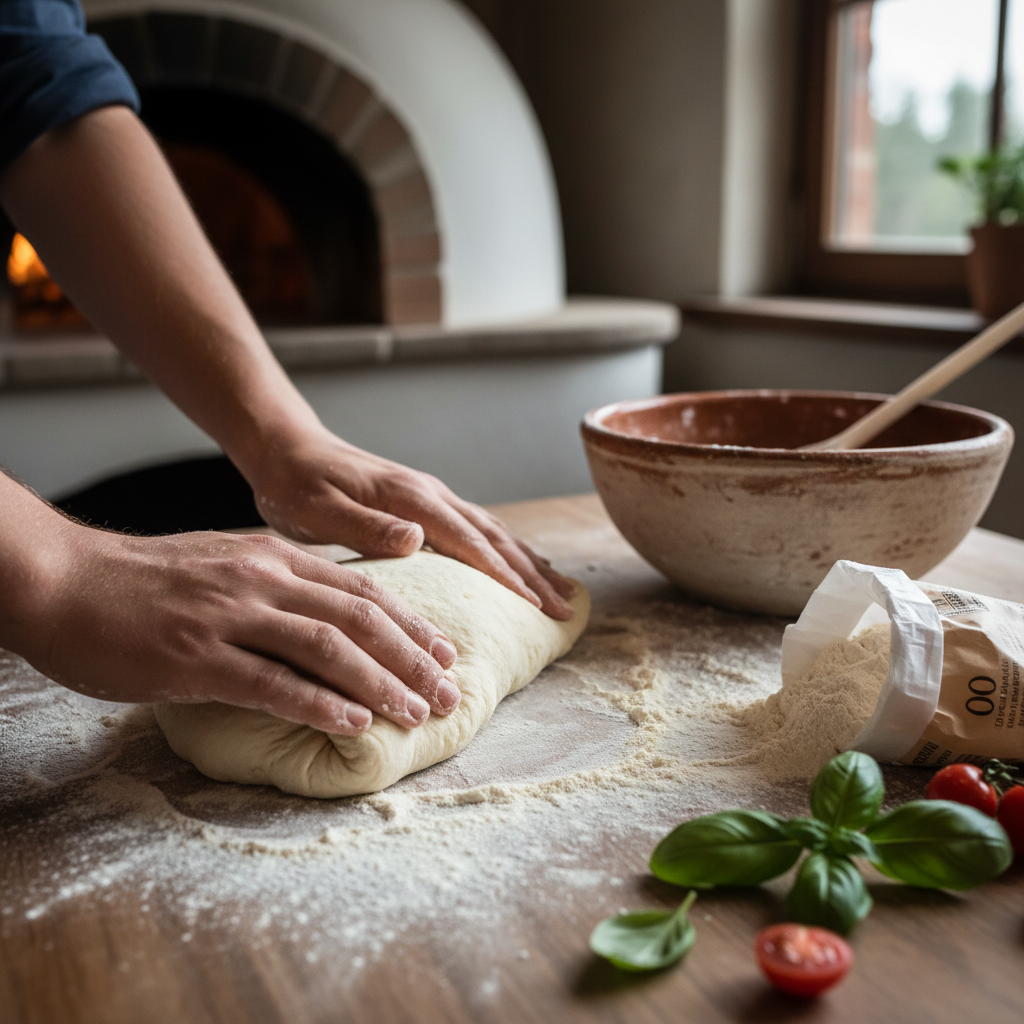
These fluffy, protein-rich pizzas will be ready in no time because the dough only needs two basic ingredients. You don’t need any additional tools to mix the dough; simply your hands will do. The Greek yogurt offers extra protein to keep the youngsters satiated longer, and the base is soft like focaccia.
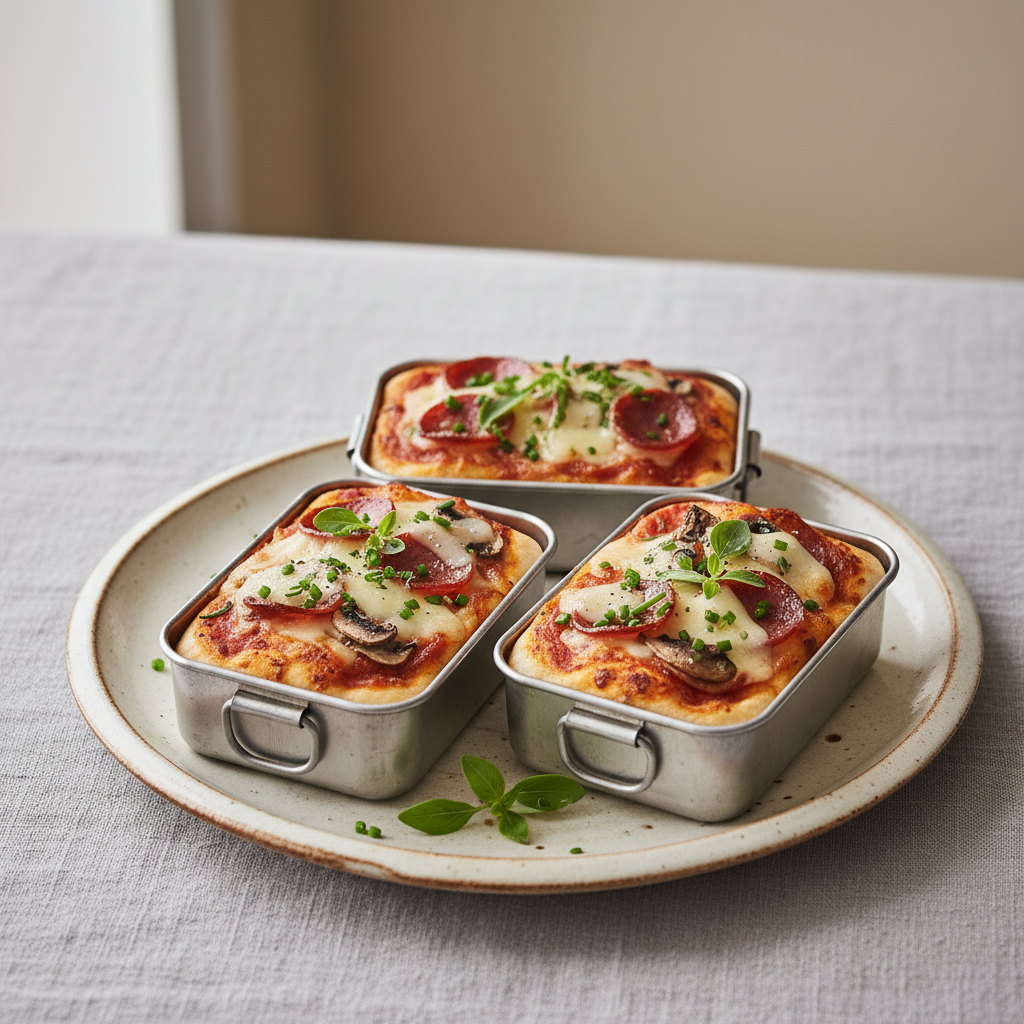
The best part? You can put anything you want on these pizzas (even just veggies), and they will be ready in less than 25 minutes. You could even let the kids put their favorite toppings on their own pizzas! You may make them ahead of time, freeze them, and then put them in the kids’ (and adults’) lunchboxes during the week. They taste great hot or cold!
Ingredients
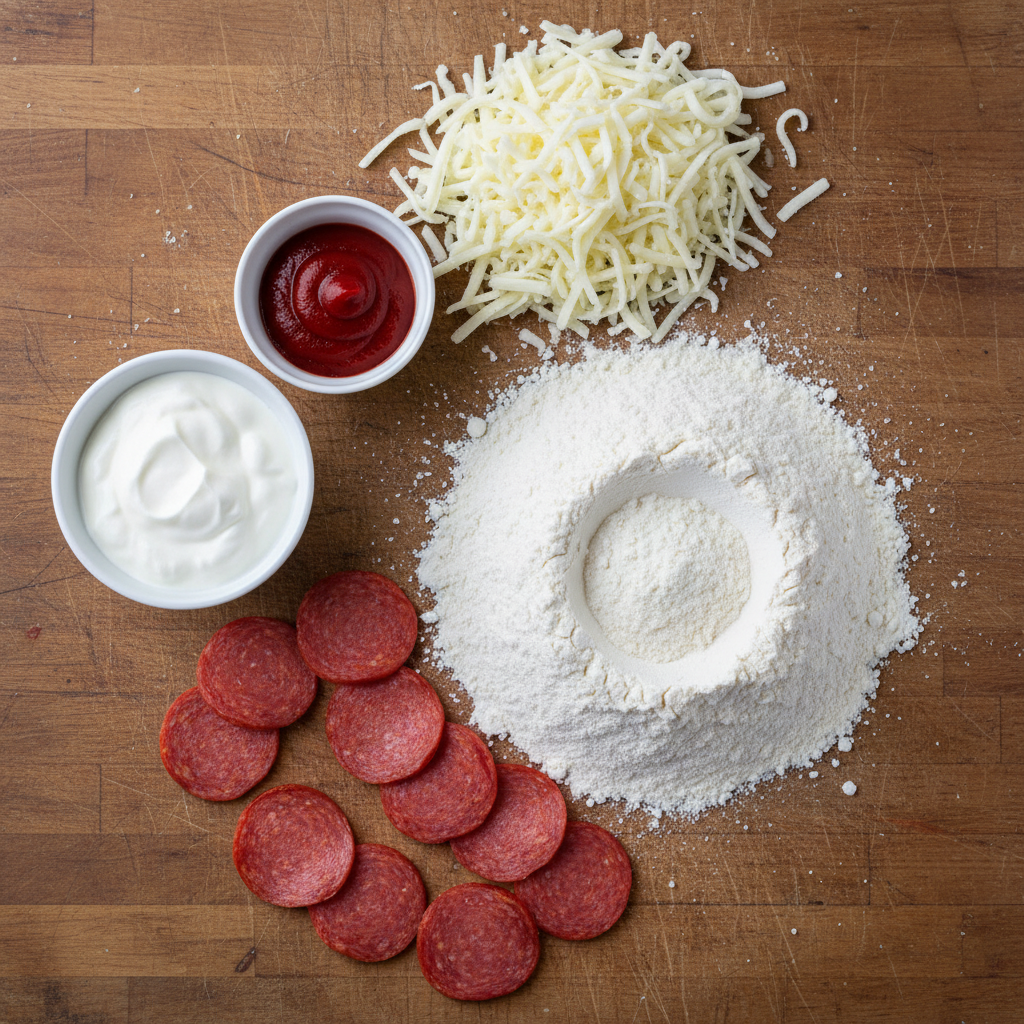
DOUGH
- Two cups (300 g) of self-raising flour (see note 1 if you only have plain or all-purpose flour)
- 1 cup (250 g) of plain Greek yogurt with full fat
TOPPINGS
- ⅓ cup (90 g) tomato paste (concentrated puree)
- 1 cup (125 g) of mozzarella cheese that has just been shredded
- ½ cup (80 g) of pepperoni
Instructions
- Set the oven to 200°C (400°F) (180°C/350°F for a fan-forced oven).
- Put baking (parchment) paper on a baking tray.
- Mix the self-raising flour and yogurt together in a big bowl. Use a spoon to mix the ingredients until they seem like big flakes.
- Then use your hands to mix them together, kneading them until they form a soft dough (this will take about 1–2 minutes; see note 2 for more information and help).
- Flour a clean work surface lightly and roll out the dough until it is approximately 1 cm (½ inch) thick.
- Cut out rounds using a big mug or cookie cutter, or create one big pizza instead. Use your hands to combine any leftover dough scraps, roll it out again, and use your cutter to make more rounds. Do this again and again until there is no more dough.
- Put the rounds of dough on the baking tray that you made. If you need to, use two trays.
- Put a little bit of tomato paste on top of each circle.
- Add the pepperoni on top of the shredded mozzarella.
- Bake for 12 to 14 minutes, or until the dough is golden and the cheese is melted. If you are using two trays, put one in the top of the oven and one in the bottom. You don’t need to switch them while cooking.
- Let it cool a little on the tray before serving.
Notes
Note 1: If you only have ordinary (all-purpose) flour, you can get the same fluffy results by adding 4 teaspoons of baking powder (2 teaspoons per cup/150 g of flour).
Note 2: At first, the dough will seem dry and like it isn’t coming together. Keep working the dough! It will ultimately all fit together. If the dough starts to get too sticky, add more flour to your hands and the dough.
Make Ahead & Storage Tips
These little pizzas are great for making meals ahead of time! You can bake these ahead of time and then freeze them in containers that don’t let air in. Make sure they are completely cool before putting them in the freezer. To keep them from sticking together, put parchment paper between them. To serve, you can either thaw them out in the fridge overnight or heat them up in the microwave or oven. You can eat them hot or cold. You may keep baked mini pizzas in the fridge for up to three days or in the freezer for up to three months.
Look at the “make ahead” instructions above.
Variations & Tips
What else can I put on these Mini Lunchbox Pizzas?
These pizzas are great because you can use them in so many ways. We love toppings like sliced ham, pineapple, sliced mushrooms, diced capsicum (bell peppers), baby spinach, semi-dried (sun-blushed) tomatoes, or leftover cooked chicken. Add some grated zucchini (courgette) to the pizza to sneak in some additional greens. It will melt in with the cheese.
How can I make these pizzas even more exciting for my kids?
You don’t have to only make the pizzas circular. You may shape the dough into any shape you like, such an oval, a square, or even a diamond. For smaller kids, you might even use big cookie cutters that are shaped like animals, such cats or dogs, to cut out the dough.
Can I use an air fryer to make these pizzas?
Yes! To make them in an air fryer, set the temperature to 180°C (350°F) and cook the pizzas for 8 to 10 minutes, or until the dough is brown and the cheese is melted.
What are some more easy and quick recipes that are great for lunchboxes?
I think you’ll adore these other easy lunchbox goodies that are similar to this one:
- Cheesy Corn Fritters
- The BEST Sausage Rolls You Can Make at Home
- Rolls with Spinach and Feta
- Triangles with spinach and feta