
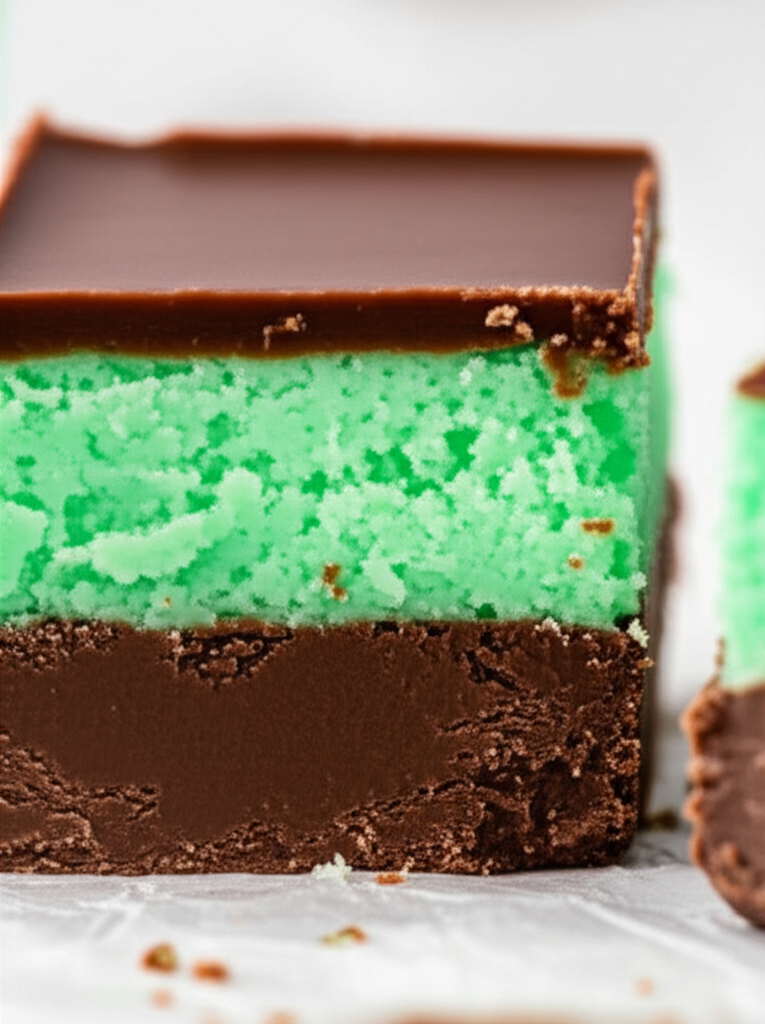
Mint Chocolate Fudge
Mint and chocolate go together like peanut butter and jelly, and this Mint Chocolate Fudge is proof! It has a lot of flavor, is creamy, and has just the right amount of mint to make it taste fresh.
This fudge will be a hit no matter why you make it: for the holidays, as a gift, or just because you adore mint chocolate. And the best thing? Making it is quite simple—no baking or fuss.
Let’s get started!
Ingredients
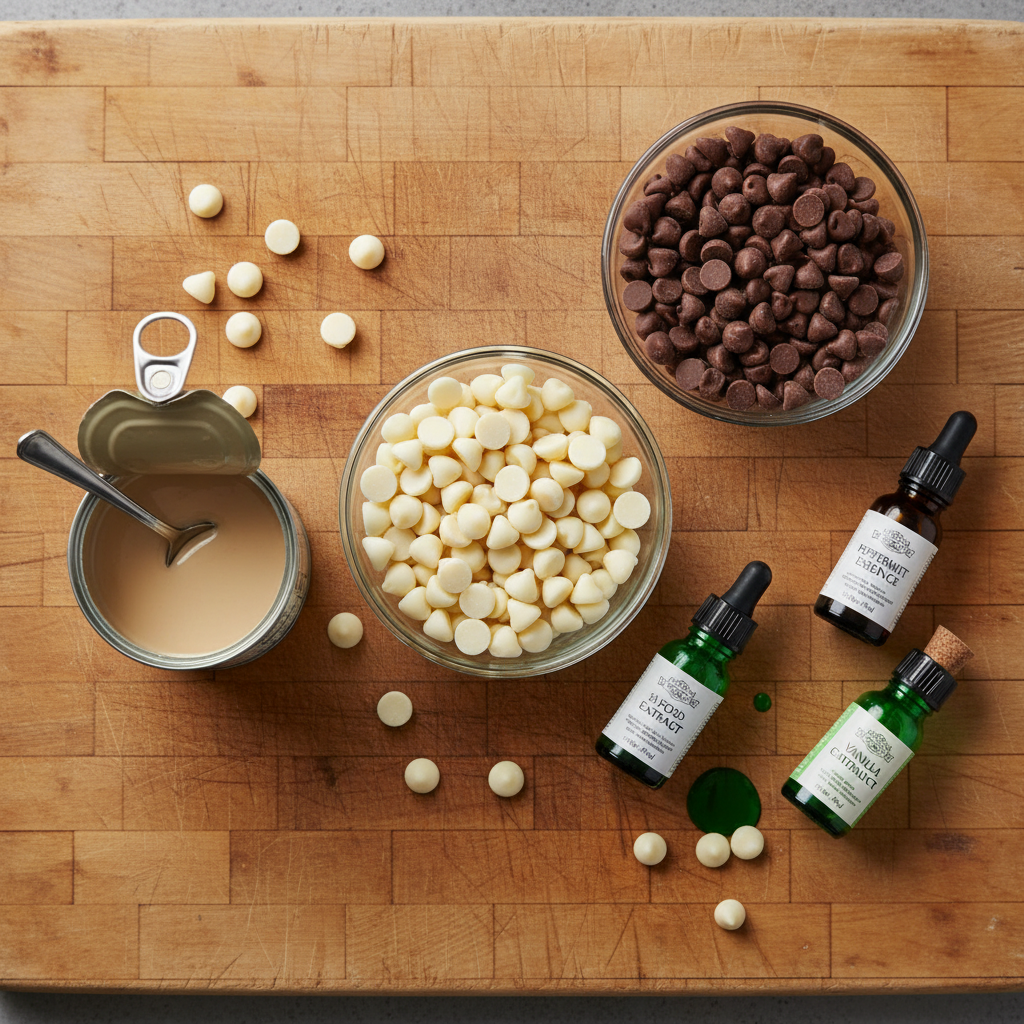
For the layer of chocolate:
- 2 cups of chocolate chips that are not too sweet
- 7 ounces (half a can) of sweetened condensed milk
- 1 teaspoon of vanilla extract
For the layer of mint:
- Two cups of white chocolate chips
- 7 oz (half a can) of sweetened condensed milk
- 1 tsp of peppermint essence
- 2 to 3 drops of green food coloring (optional, for color)
For decoration:
- chocolate shavings or sprinkles
Tools:
- Medium-sized pot
- Spatula that can handle heat
- A baking pan that is 8 by 8 inches
- Paper for parchment
- Spoons and cups for measuring
Instructions
1. Make the layer of chocolate
Put the semi-sweet chocolate chips and half of the sweetened condensed milk (7 oz) in a medium saucepan. Stir the mixture frequently over low heat until it melts and becomes smooth. Add the vanilla extract and mix. Spread the mixture evenly in an 8×8-inch baking pan lined with parchment paper. While you make the mint layer, let it cool down a bit.
2. Create the Mint Layer
Put the white chocolate chips and the rest of the sweetened condensed milk (7 oz) in a clean medium saucepan. Stirring continually, heat over low heat until it melts and is smooth. Mix in the peppermint extract and green food dye (if using) until everything is well combined.
3. Add the mint layer
Slowly pour the mint mixture over the chocolate layer that has just started to harden in the pan. Use a spatula to spread it out evenly.
4. Let the fudge cool
Put the pan in the fridge and let the fudge cool for at least 2–3 hours, or until it is totally hard.
5. Cut and serve
After the fudge has set, use the parchment paper to remove it out of the pan. Use a sharp knife to cut into squares. If you want, you can add chocolate shavings or a sprig of mint to the top.
Helpful Tips
- Be patient! To keep the chocolate layer clean and distinct from the mint layer, let it set for a few minutes before adding the mint layer.
- Use chocolate that is of good quality. The taste and texture are very different!
- Don’t go overboard with the mint. A little peppermint extract goes a long way, so sample as you go.
- Get your pan ready. Put parchment paper on the bottom of your pan, leaving some on the sides to make it easier to lift later.
- Cool all the way down. Before cutting the fudge into pieces, let it cool completely in the fridge.
Changes and Substitutions
- There is no green food coloring? Don’t do it! The fudge will taste just as nice without the hue.
- Add some texture. Add some crunch by mixing in crushed mint candies or Andes mints into the mint layer.
- No dairy? Use chocolate chips that don’t have dairy in them and coconut condensed milk.
Leftovers and How to Store Them
- You can keep fudge in the fridge for up to two weeks in an airtight container.
- You can keep the fudge in the freezer for up to three months. Let it thaw in the fridge before you serve it.
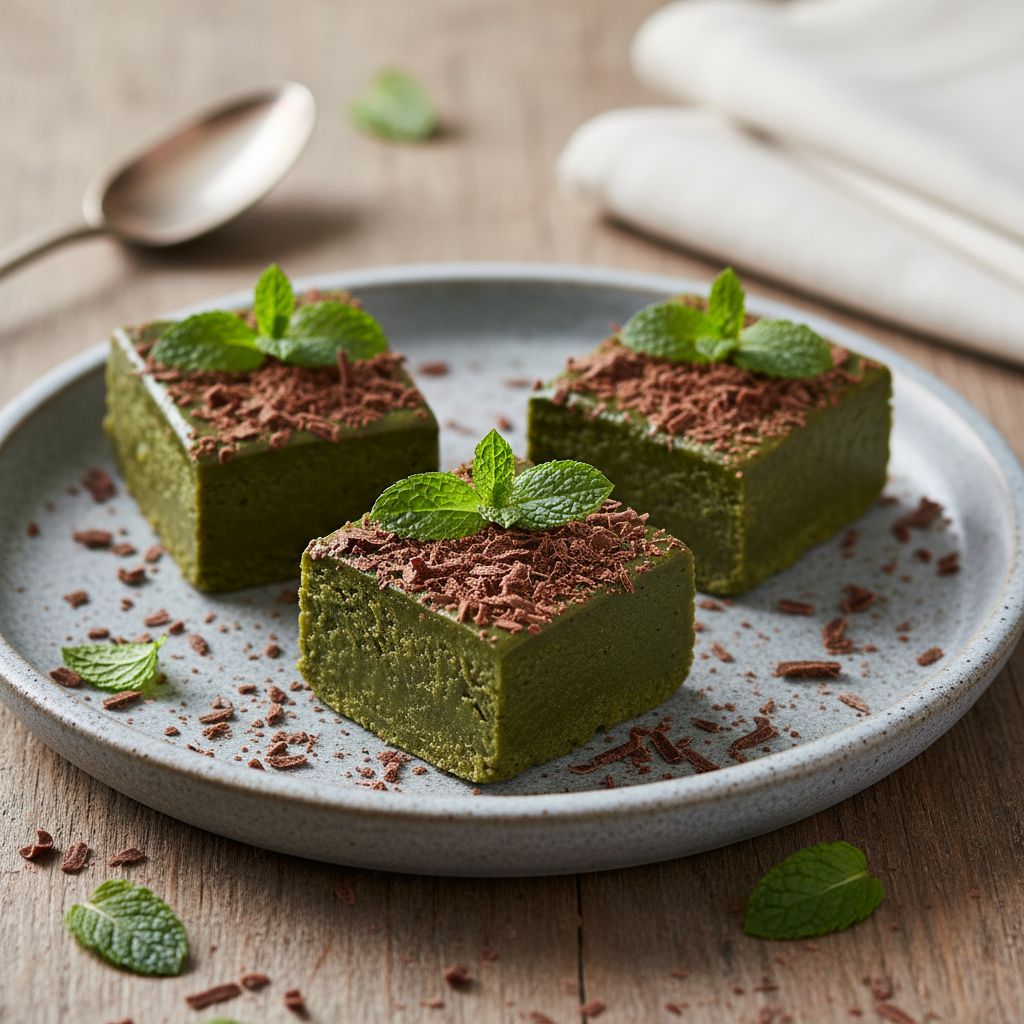
This Mint Chocolate Fudge is sure to please everyone because it has a rich chocolate base and a cool, creamy mint coating. It’s very easy to create and great for holidays, gifts, or simply for yourself. Try it out and tell me in the comments how it turned out. Did you put your own spin on it? Enjoy your snacks! 🍫🌿✨