
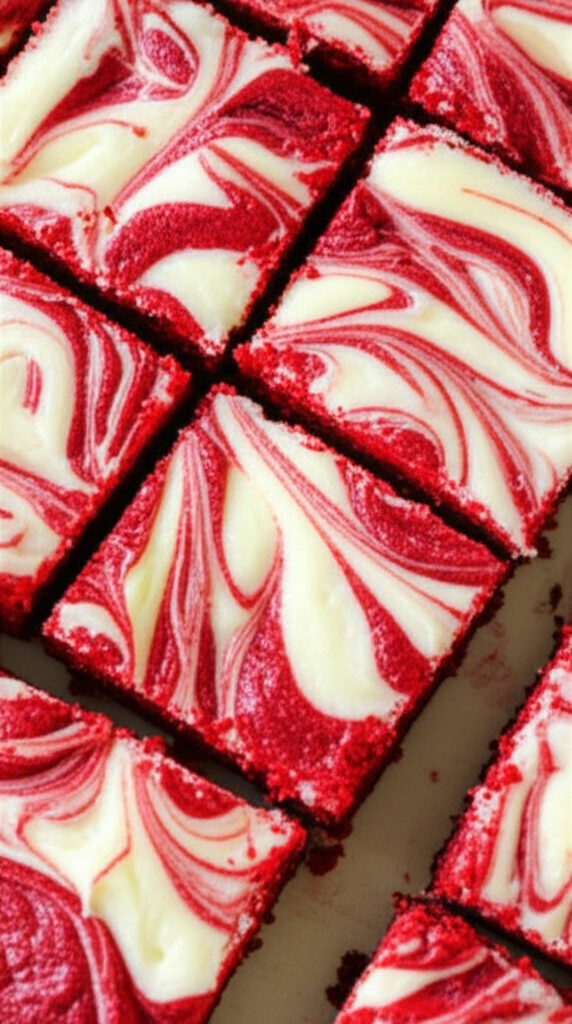
Red Velvet Cheesecake Brownies
Red Velvet Cheesecake Brownies are a rich and beautiful dessert that combines the rich chocolate flavor of red velvet brownies with the creamy tang of a cheesecake swirl. These brownies are great for parties, holidays, or just to satisfy your sweet taste in a new way.
Ingredients
Time to get ready: 15 minutes
Time to cook: 35 minutes
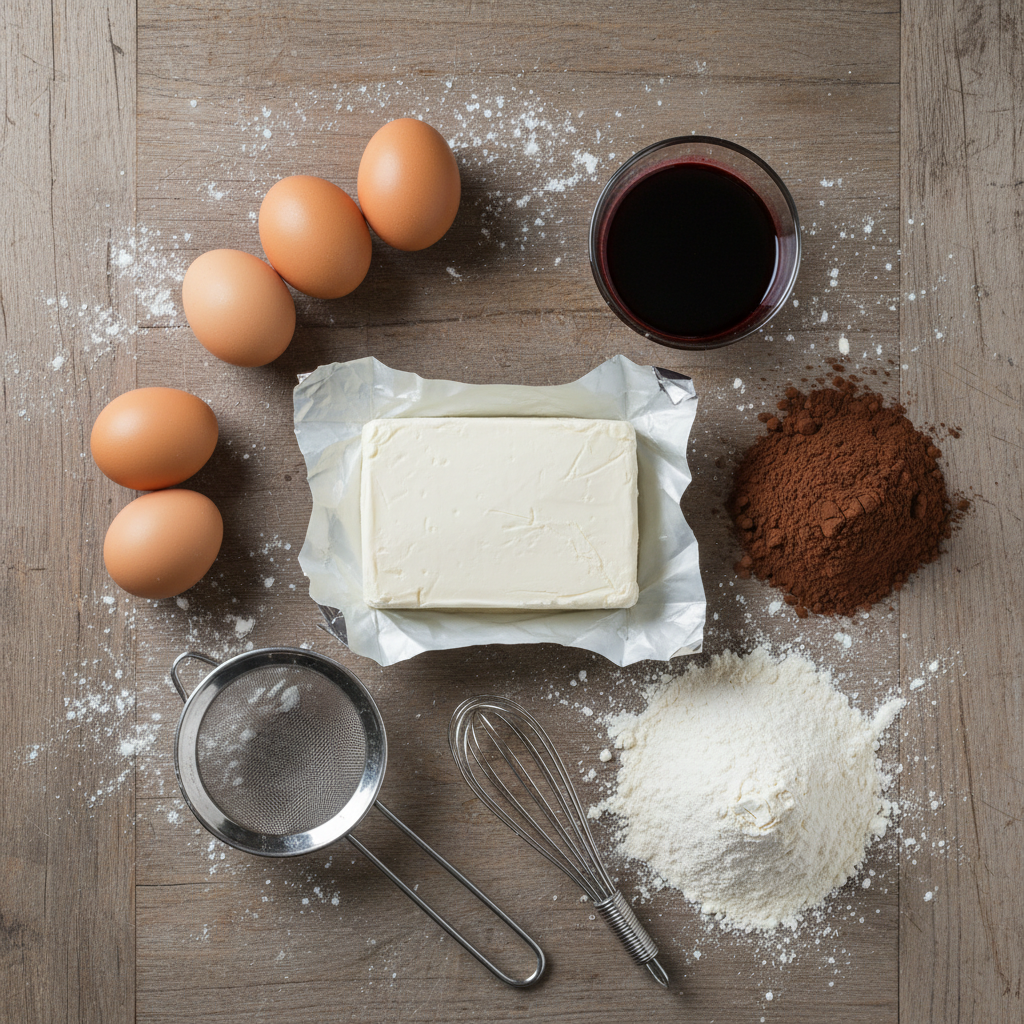
- 1/2 cup of melted unsalted butter
- 1 cup of sugar
- Two big eggs
- 1 teaspoon of vanilla extract
- 1 tablespoon of red food coloring
- vinegar
- 1 tablespoon of cocoa powder
- 3/4 cup of flour that can be used for anything
- 1/4 teaspoon of salt
- 8 ounces of cream cheese that has been softened
- 1/4 cup of sugar in granules
- One big egg
- 1/2 teaspoon of vanilla extract
Instructions
1. Get the oven ready:
Start by heating your oven to 350°F (175°C). Grease an 8×8-inch baking sheet or line it with parchment paper so that the brownies are easy to take out once they are done baking.
2. Make the batter for the red velvet brownies:
Melt the butter: Put the butter in a medium-sized pot or bowl that can go in the microwave. After the butter has melted, toss in the cocoa powder and granulated sugar until they are all mixed together and smooth.
Add Vanilla and Red Food Coloring: Start by adding one tablespoon of red food coloring to the mixture. If you need to, you can make the red color stronger by adding more. Add the vinegar and vanilla essence and mix them in.
Add the eggs one at a time, mixing well after each one. Last, add the flour and mix until the batter is smooth and free of lumps.
3. Get ready for the cheesecake layer:
Mix the cream cheese and sugar: In a another bowl, mix the softened cream cheese and 1/4 cup of sugar together. Beat the mixture with a hand mixer or a stand mixer until it is smooth and creamy.
Add the egg and vanilla: Mix in the egg and vanilla extract until everything is completely mixed and there are no lumps.
4. Put the layers together:
Spread the Red Velvet Batter: Pour most of the red velvet brownie batter into the prepared baking pan and spread it out so that it makes a smooth base layer. Set aside about 1/4 cup of the brownie batter to swirl on top later.
Put in the cheesecake layer: Spread the cream cheese mixture over the red velvet layer with care, trying to cover as much of the brownie batter as you can. Use a spoon or a spatula to smooth it out.
Swirl the Top: Put spoonfuls of the red velvet batter that you saved on top of the cheesecake layer. To make a marbled effect, use a knife or toothpick to carefully swirl the brownie batter through the cheesecake layer. Don’t mix too much; you want clear red and white swirls.

5. Cook:
Put the food in the oven that has already been heated and bake it for 25 to 30 minutes, or until a toothpick stuck in the middle comes out with only a few moist crumbs. Don’t bake them too long, or they will dry out.
6. Let it cool and serve:
Take the brownies out of the oven when they are done and let them cool in the pan for 10 to 15 minutes. Put them on a wire rack to cool all the way down before cutting them into squares. You can simply remove the whole slab of brownies out of the pan and cut them if you use parchment paper.
How to Succeed
- Room Temperature Ingredients: Before you make the cheesecake layer, make sure your cream cheese is completely soft. This makes sure that the texture is smooth and devoid of lumps.
- Food Coloring: Instead of artificial food coloring, you can use beet powder or natural red food colors to get a natural red color. But the red color may not always be the same.
- Swirling Technique: To get a pretty marbled look, attempt to swirl the brownie batter into the cheesecake layer without mixing it too much. For clear designs, move your hand in soft, circular strokes.
- Red velvet brownies should be fudgy, so don’t bake them too long. Check the baking time and see if the food is done by sticking a toothpick in the middle. The brownies are done when a few moist crumbs come out of the toothpick. If it comes out fully wet, they require extra time.
Changes and Additions
- Chocolate Chips: For an added treat, mix some chocolate chips into the red velvet batter before you spread it out in the pan. You might use chips of dark chocolate, milk chocolate, or even white chocolate.
- Raspberry Swirl: If you like fruity flavors, add some raspberry or strawberry jam to the cheesecake layer. The tart fruit goes perfectly with the sweet cheesecake and brownies.
- Nut Toppings: For extra crunch, sprinkle chopped nuts, like pecans or walnuts, on top of the cheesecake layer before baking.
Where to Keep It
- Room Temperature: You may keep these brownies in an airtight jar at room temperature for up to two days.
- Refrigeration: If you want to keep the brownies longer, you can put them in the fridge for up to a week. When you chill the cheesecake layer, it stays fresher.
- You may freeze red velvet cheesecake brownies for up to three months. Put each slice in a plastic wrap and seal it tightly. Then put them in a bag or container that can go in the freezer. Simply thaw at room temperature or in the fridge when you’re ready to eat.
Questions and Answers
Is it possible to make these gluten-free?
Yes! You can use a gluten-free baking blend instead of the all-purpose flour. Just make sure that the mix has xanthan gum or similar binding agent in it to keep the texture.
Is it possible to double the recipe?
Of course. If you want to make more brownies or are feeding a bigger group, double the ingredients and bake them in a 9×13-inch pan. Keep an eye on them because they could need to bake for an extra 5 to 10 minutes.
What makes red velvet brownies different from conventional brownies?
Red velvet brownies don’t taste as much like chocolate as regular brownies do since they have food coloring and sometimes a little vinegar, which also gives them a little tang. They still have a fudgy texture, but their flavor is different and their color is bright red.
Alternative Step-by-Step Method
1. Turn on the oven:
Set your oven to 350°F (175°C) and line an 8×8-inch baking pan with parchment paper, leaving some paper hanging over the edge so you can easily remove the cake.
2. Make the batter for the red velvet brownies:
In a big mixing bowl, combine the melted butter and sugar together with a whisk until the mixture is smooth. Put in the red food coloring, vanilla extract, and eggs. Mix thoroughly until everything is mixed in.
Add the cocoa powder, flour, and salt by sifting them in. Gently mix the dry ingredients into the wet ingredients until they are barely mixed. Don’t mix too much.
3. Make the cheesecake layer:
In another bowl, mix the sugar and softened cream cheese together until they are smooth. Add the egg and vanilla extract, and mix until the mixture is smooth and creamy.
4. Put the Brownies together:
Spread about 3/4 of the red velvet brownie batter evenly in the prepared baking sheet.
Gently pour the cheesecake layer over the brownie layer, making sure it goes all the way to the edges.
Put spoonfuls of the leftover red velvet batter on top of the cheesecake layer. To make a marbled effect, use a knife or toothpick to swirl the red velvet batter through the cheesecake.
5. Cook:
Bake for 30 to 35 minutes, or until the center is firm and a toothpick stuck in the center comes out mostly clean (a few damp crumbs are fine).
6. Cool:
Take the brownies out of the pan and allow them cool fully on a wire rack. Put the brownies in the fridge for at least 30 minutes before cutting them to get cleaner cuts.
7. Give:
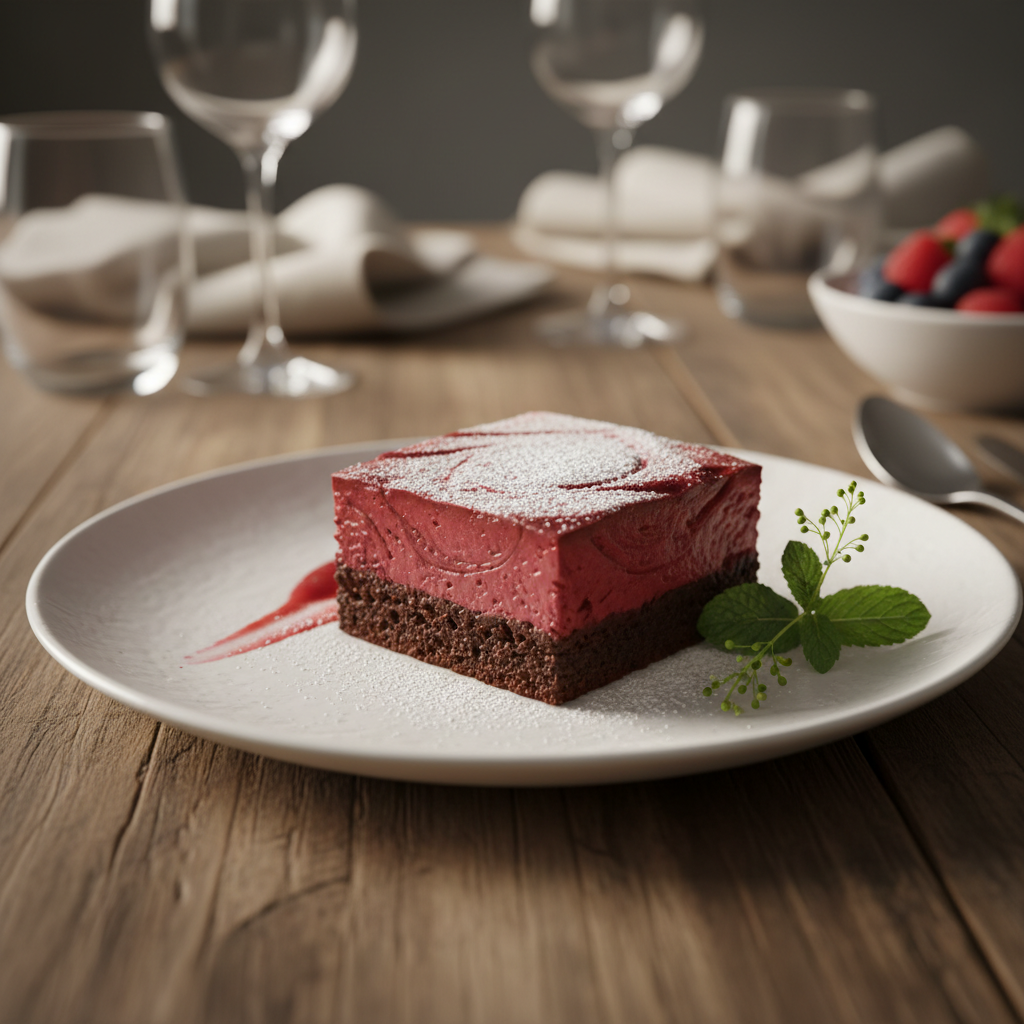
Cut the brownies into squares and serve them as they are, or with a dollop of whipped cream or a drizzle of chocolate sauce to make them even more delicious.
Storage
You may keep the brownies in the fridge for up to five days in an airtight container. They also freeze well for up to three months.
Red Velvet Tip
You can leave out the food coloring or use less of it if you don’t want to use it. However, the cake won’t have the trademark red velvet hue.
Add-ins
To make the red velvet batter even better, mix in white chocolate chips or dark chocolate chunks before baking.
Red Velvet Cheesecake Brownies are a tasty treat that looks as good as it tastes. The bright red color and the creamy white cheesecake swirl make for a beautiful look, and the mix of flavors is just right, with a mix of sweet, sour, and chocolaty richness. These brownies will impress you whether you’re making them for a big event or just for yourself.