
Quick Plum Jam Recipe
Hey! 🍑
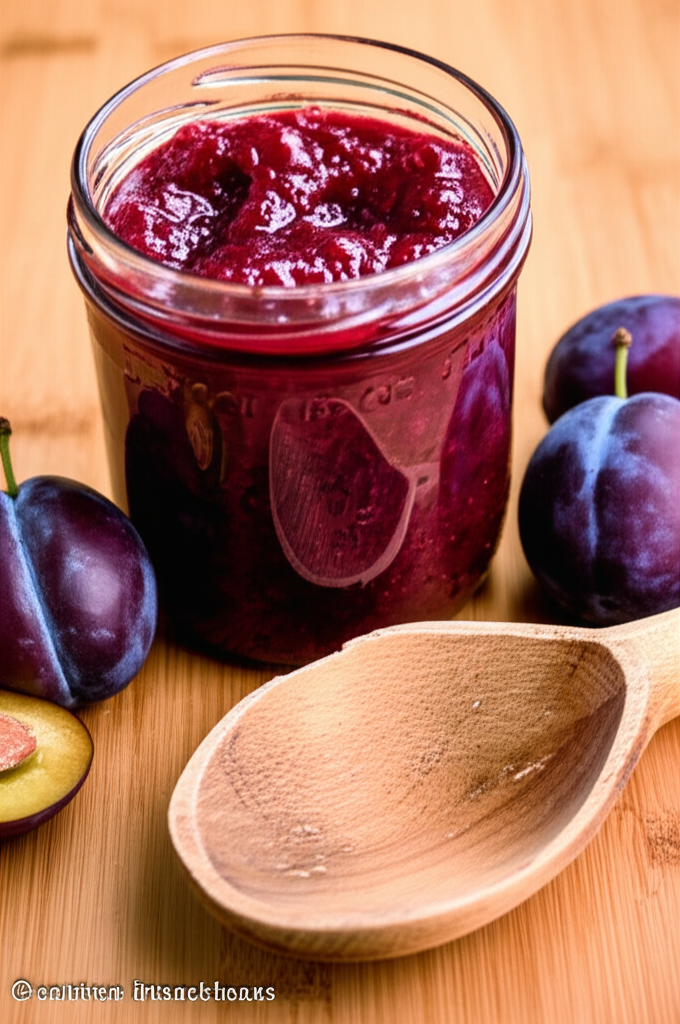
Let’s talk about plum jam. It’s sweet, tart, and simple to create.
I make this jam every summer when plums are cheap and luscious at the store.
You don’t need any sophisticated tools or pectin, just a few simple things. It only takes fruit, sugar, lemon, and a little love.
This dish is great for people who are just starting out, and kids adore it on toast or mixed into yogurt. Let’s get it done!
Homemade jam is quite comforting in some way. This recipe has helped me out a lot when I needed a quick present or just wanted something handmade to put on my toast in the morning.
Just three things!
No preservatives or pectin
A great way to use up ripe plums
It smells great while it’s cooking.
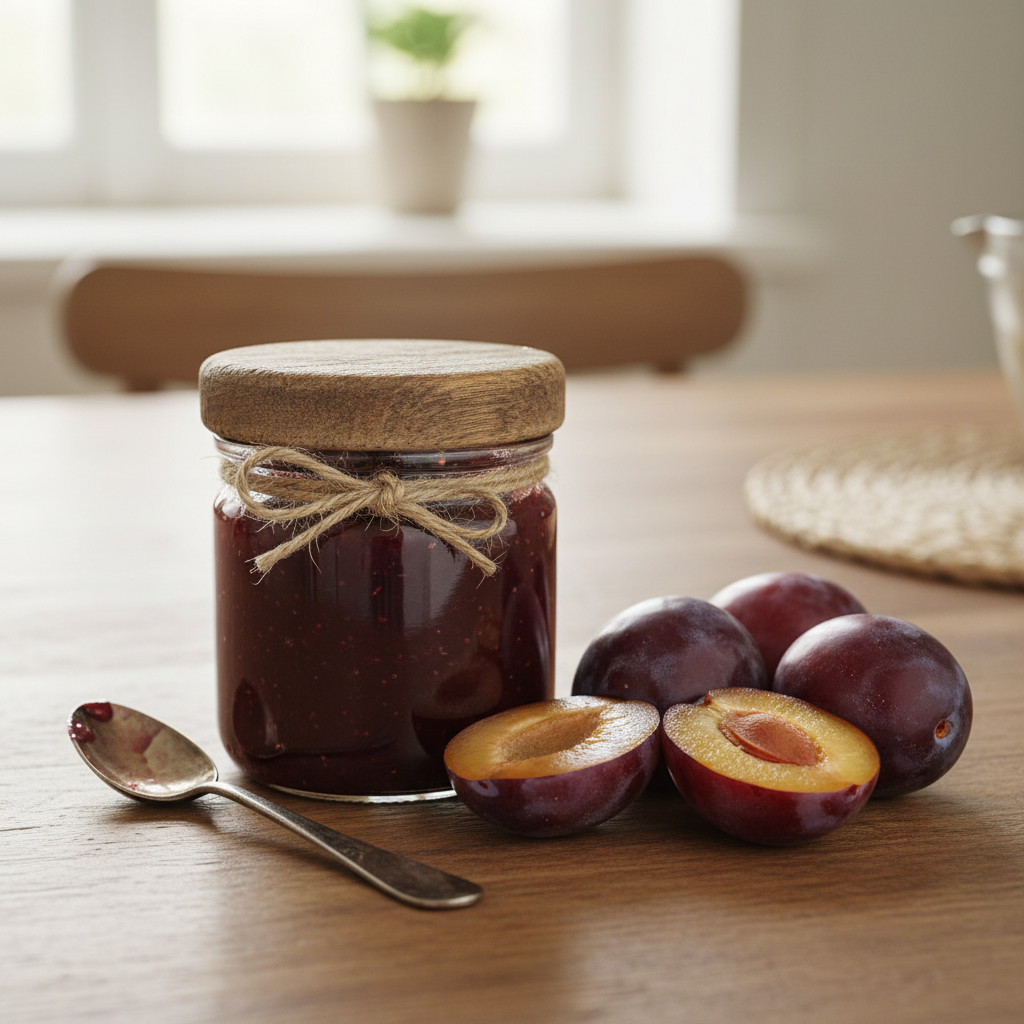
Makes a nice gift from home
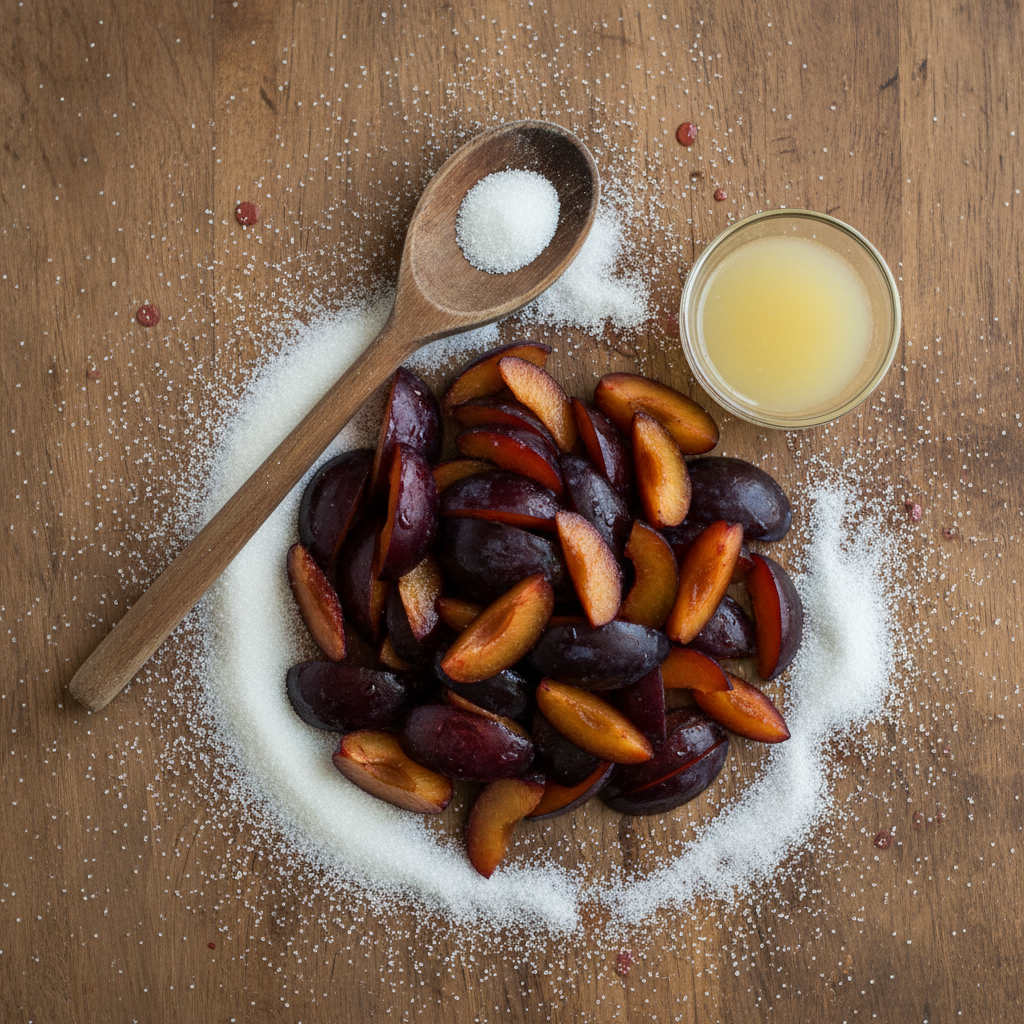
Ingredients
- 2 pounds of ripe plums, roughly 8 to 10 medium-sized ones, with the pits removed and diced
- 1 ½ cups of sugar that has been granulated
- 2 tablespoons of fresh lemon juice
Tools Needed
- A medium-sized pot
- Spoon made of wood or spatula made of silicone
- Cutting board and knife
- Cups for measuring
- A juicer for citrus fruits (or just squeeze by hand)
- Clean jars for storage
- Small plate for testing jam
You can get the plums ready ahead of time by chopping them up and freezing them until you’re ready to make jam.
Plums that are ripe (or even a little overripe) taste the nicest and are naturally delicious.
Don’t forget the lemon juice! It makes the jam thicker and less sweet.
Want it to be smooth? At the end, use an immersion blender to make the jam smooth.
To see if it’s done, keep a tiny plate in the freezer (I’ll explain more later!).
Let the youngsters assist wash and pit the plums. It’s fun and sticky!
Instructions
- Wash your plums well, split them in half, take out the pits, and chop them up coarsely. You don’t have to peel!
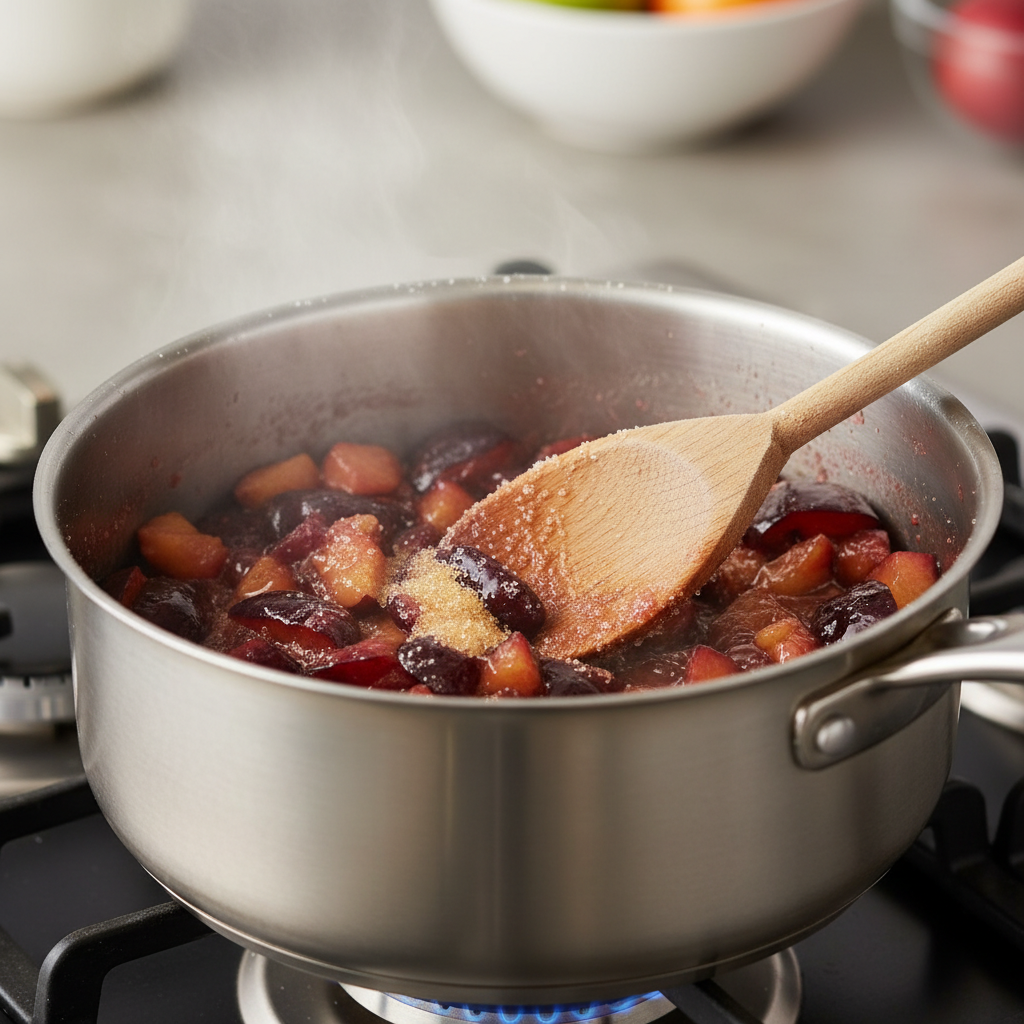
- Put the chopped plums, sugar, and lemon juice in a medium-sized pot.
- Put the pan on the stove and turn the heat to medium. As the fruit breaks down, stir it every so often.
- Stir it often as it simmers for 30 to 40 minutes so it doesn’t stick. The jam should get thicker and shinier.
- Take the cold dish out of the freezer and put some jam on it. After 30 seconds, use your finger to push it. It’s ready when it wrinkles!
- Let it cool down a little, then put it in clean jars. You can keep it in the fridge for up to three weeks or freeze it for longer.
Tips & Variations
- If you want a jam that is more sour, you can cut the sugar to 1 cup.
- Add-ins: A little bit of cinnamon or vanilla can make it taste even better.
- Other fruits: This also tastes excellent with cherries or apricots!
Serving Suggestions
- Put on toast, biscuits, or English muffins
- Swirled into yogurt or oats
- On a cheese board (it goes great with brie or goat cheese)
- Put it in thumbprint cookies or cake layers as a filling.
Storage & Uses
- You can keep it in the fridge for up to three weeks.
- You can store it in jars or containers that are safe for the freezer for up to three months.
- Let defrost in the fridge before using
- Use leftover jam as a glaze for chicken or pork (believe me—it’s amazing!)
FAQ
- Is it okay to use frozen plums?
Yes! First, thaw them out and get rid of any extra liquid. - How long does it last?
In the fridge, it lasts around three weeks. In the freezer, it lasts up to three months. - Should I peel the plums?
Nope! The skins melt right in and give the food a nice texture. - Can I make this jam for canning?
If you don’t change the recipe for safe canning, it’s best to store it in the fridge or freezer.
Final Thoughts
I hope you like my quick plum jam as much as I do. It’s warm, easy to make, and adds a little handmade sunshine to your toast. Got a question? Want to share how yours turned out? Drop a comment—I’d love to hear from you!
Happy jamming! 🍇💜